
DIY Easter Chocolate Bars
For this recipe you will need:
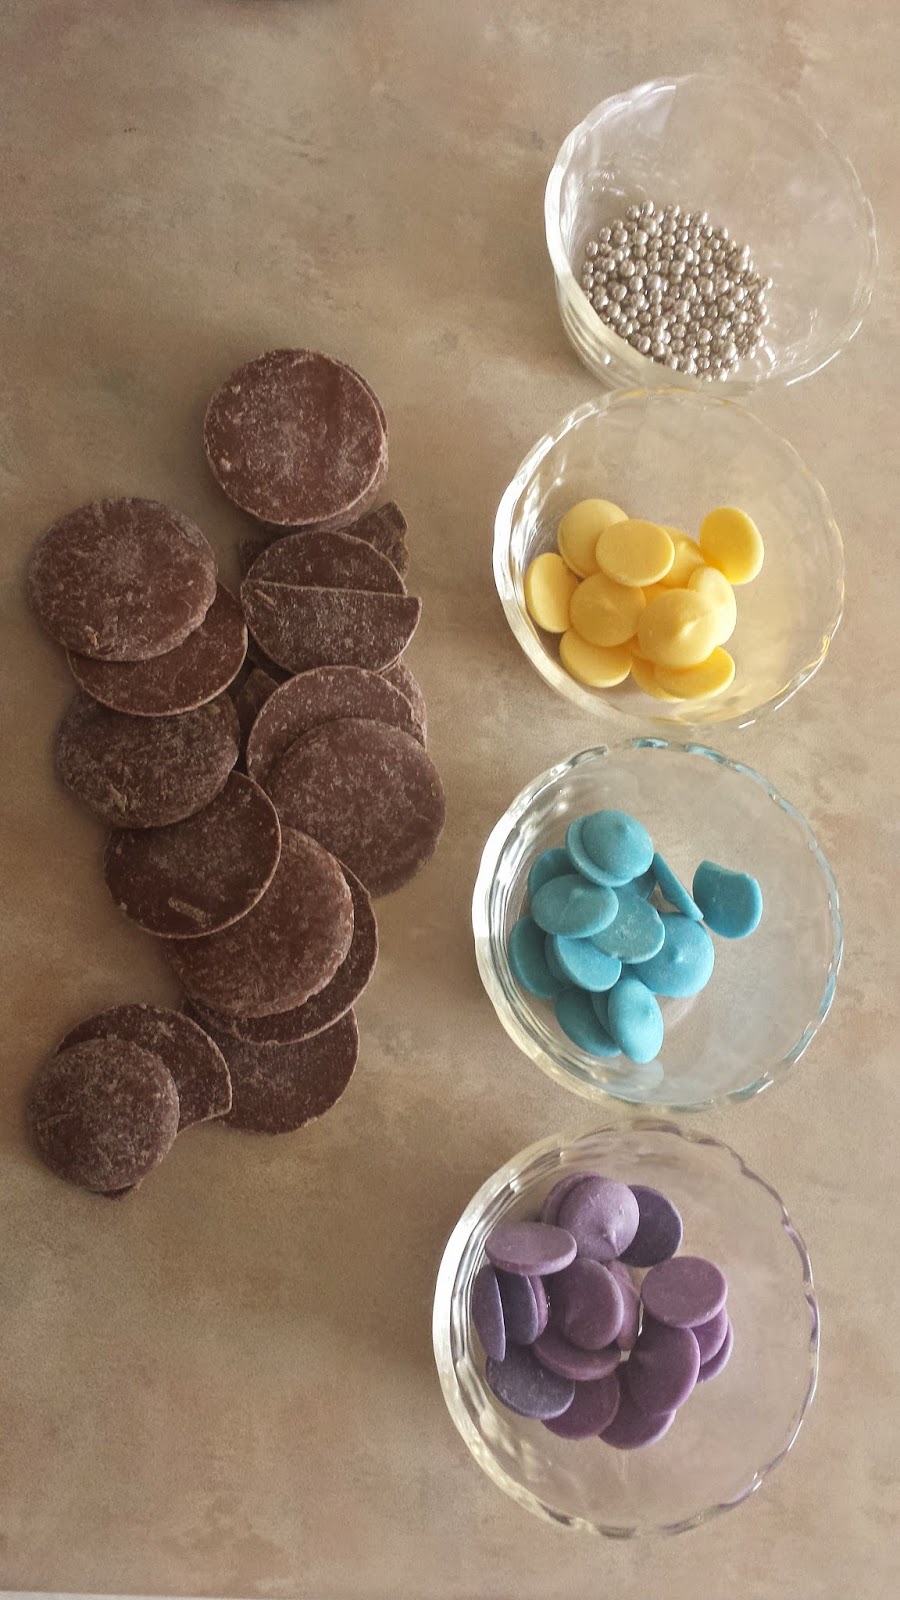
1/4 cup yellow chocolate wafers
1/4 cup blue chocolate wafers
1/4 cup purple chocolate wafers
Decorative sprinkles
4 microwave safe containers
Rectangular baking sheet/cookie sheet
Plate
Wax paper
Sharp knife
Cookie cutters
Microwave/double boiler
Prep Time: Roughly 1 hour
Total Time: Roughly 2 hours
Note that the prep/total time will vary based on the thickness of your chocolate bar. Thinner chocolate = less time needed.
Let's get started!
To begin, melt your coloured chocolate wafers in the microwave/double boiler. Place wax paper on plate, and pour melted chocolate onto plate (roughly 5 mm thickness). Let harden in refrigerator until chocolate is cool to the touch but still pliable.


Place chocolate shapes into the refrigerator until they completely cool/until needed. You can either re-melt the scraps and cut more shapes (like I did), or choose to make a separate chocolate bar with the melted scraps.

Repeat with the other colours. I chose to add silver balls to the yellow as you can see.


Line your baking sheet with wax paper. I used a pyrex dish, but you may want to use something flatter and larger. It all depends on how thick you want your chocolate bars to be.


Cover the bottom of the pan with the melted milk chocolate and let set.

This is a great time to put chocolate shapes on the top of the chocolate if you only plan to have one layer of milk chocolate I placed leftover chunks of colourful chocolate wafers. Place the pan in the refrigerator for the chocolate to harden.

Now is a great time to clean up your mess. This is a messy project. Very messy.

Look at that beautiful chocolate.


After about half an hour, you're going to want to take your chocolate out of the fridge and cut it up before it completely hardens. Now, my second major mistake was clearly making the chocolate bar too thick, so this step was particularly difficult for me. Don't make my mistake: make your chocolate thinner.

To ease the cutting process, warm the knife using hot water, and wipe clean between every cut.

As you can see I pretty much hacked this to pieces, but it came out looking presentable in the end. You can really see the layers of coloured chocolate wafers in the bars.


Hope you found this DIY fail helpful to some degree.


Comments
Post a Comment