
DIY Geometric Planter (Urban Outfitters Inspired)

I've made a point of avoiding purchasing Urban Outfitters for moral reasons (with the exception of the odd nail polish or denim jeans), but that doesn't stop me from checking out the website! I've especially been drawn to the apartment page on their website and the cute planters they are selling.
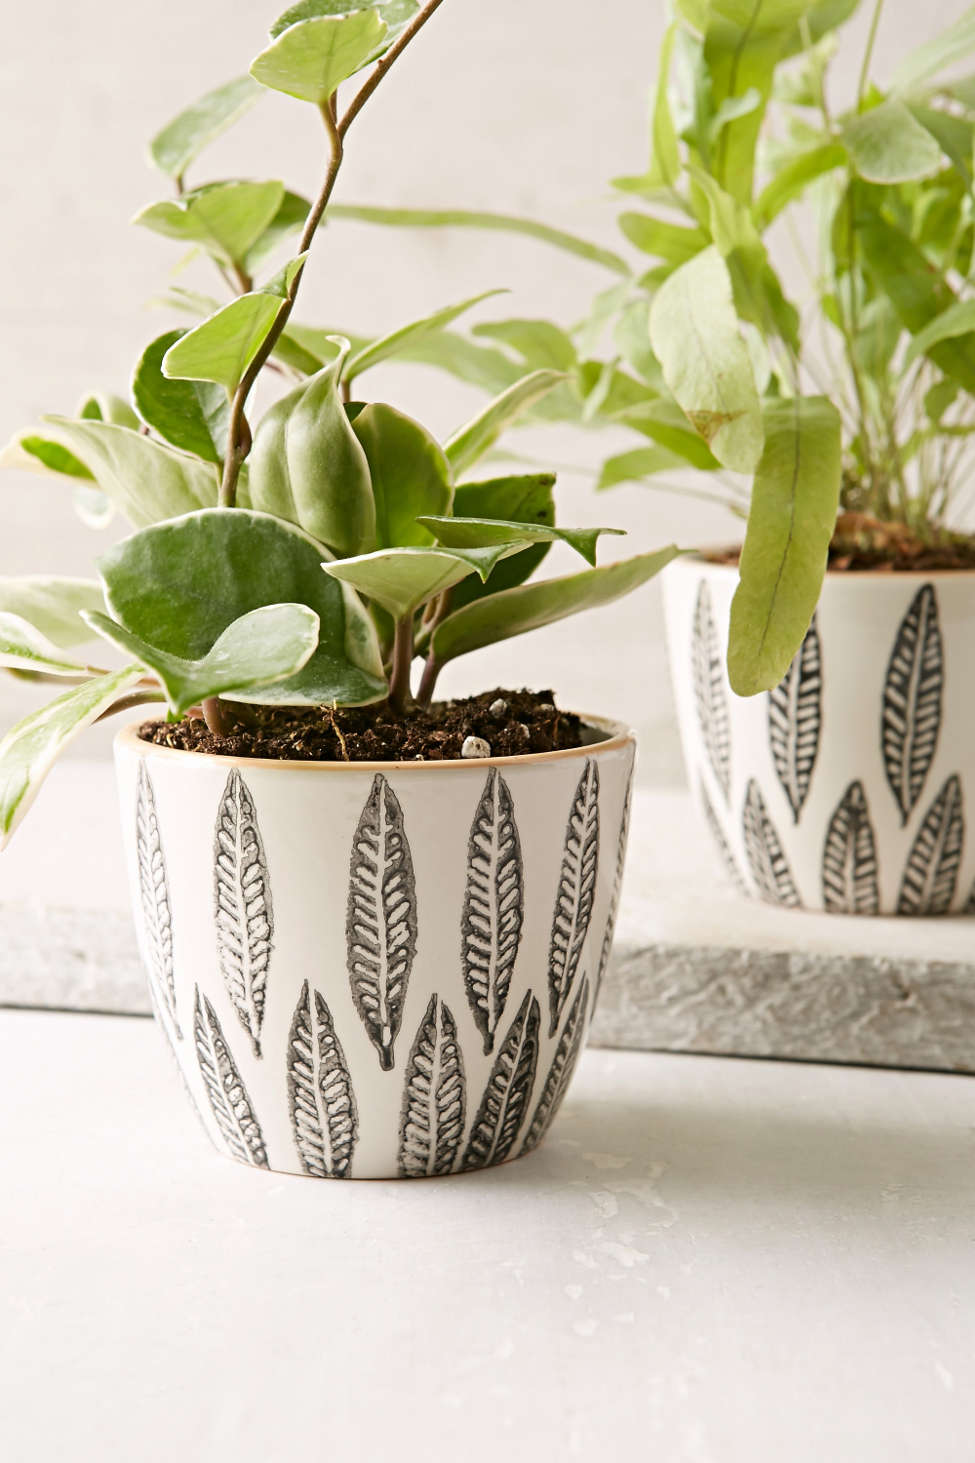 |
| Magical Thinking Feather Planter |
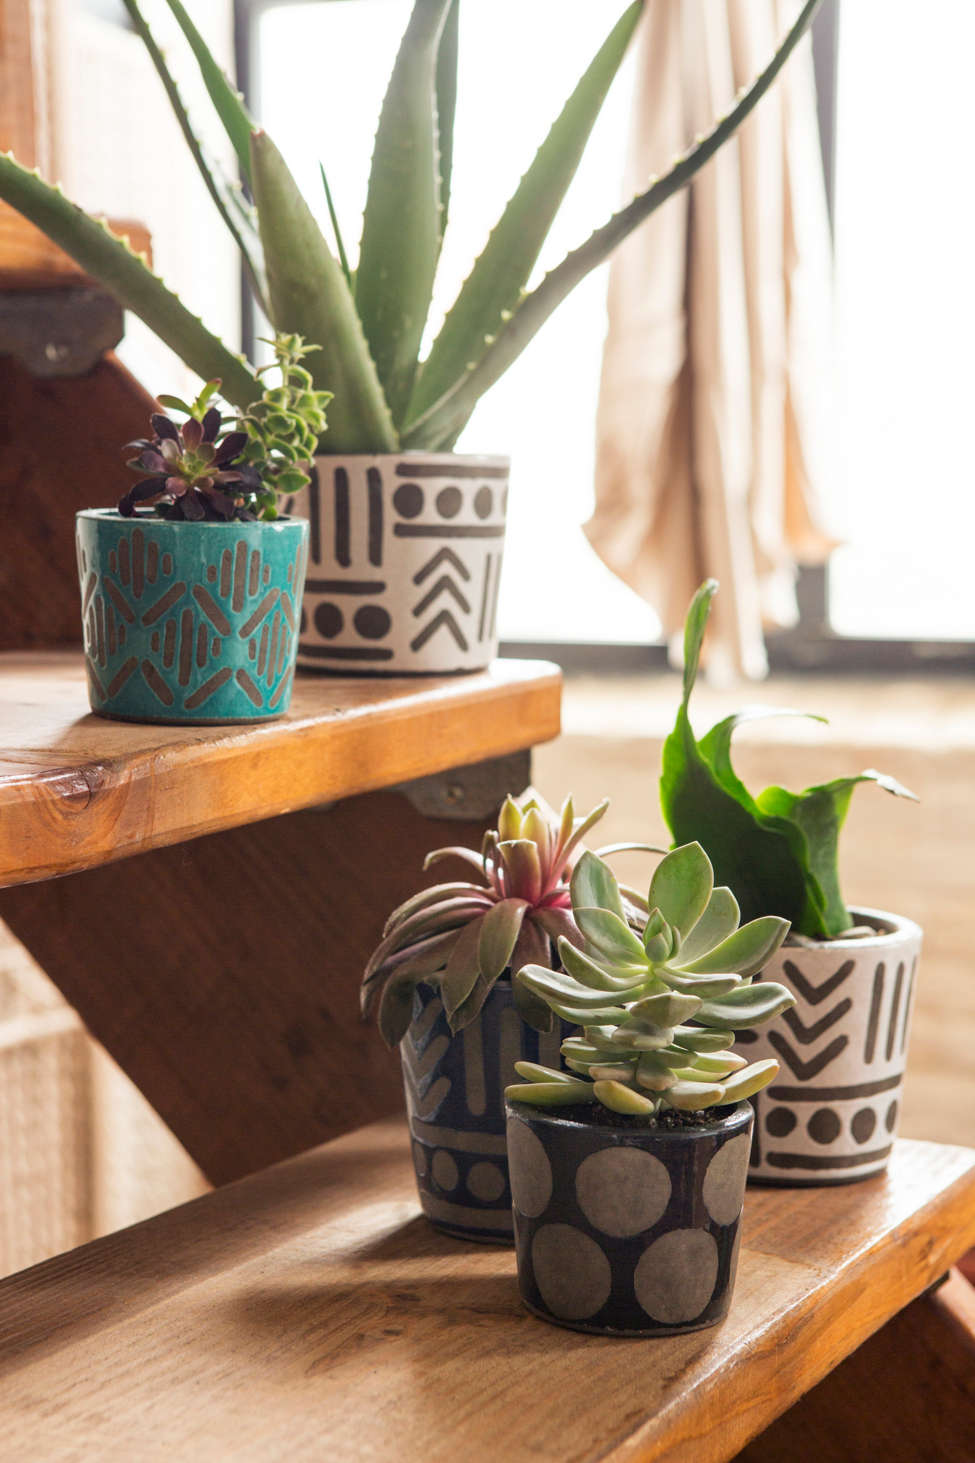 |
| Assembly Home Jada Mini Planter |
Now these planters are pretty well priced, but I would have had to order them online as they didn't carry them in the store closest to me. Call me cheap, but the shipping and handling fees PLUS the hassle of duties at the border just didn't seem worth it to me. So the DIY wheels started turning, and I threw together this little number using materials I had at home. With the beginning of gardening/planting season, this DIY is the perfect way to spruce up old planters or plant pots that you may have lying around!

- 1 planter that came with an orchid that
I killeddied ... the orchid was a gift so the planter was free! You can find something similar for $1.00 - $5.00 at your local dollar store, thrift store, or a department store like Walmart or Target. - 3 nail polishes - use as many as you'd like. The ones I used were:
- OPI Love is Hot and Coal (Dark Brown)
- OPI I Sao Paulo Over There (Taupe)
- OPI Honey Ryder (Gold, Liquid Sand)
- Nail polish remover
- Cotton swabs
- Cotton balls
- Paintbrush
- Washable marker
Time: 10 minutes
Let's do it!
First, wash your planter out with soap and warm water, and dry it completely. Wipe it down with rubbing alcohol or nail polish remover to remove any residue.
Let's do it!
First, wash your planter out with soap and warm water, and dry it completely. Wipe it down with rubbing alcohol or nail polish remover to remove any residue.
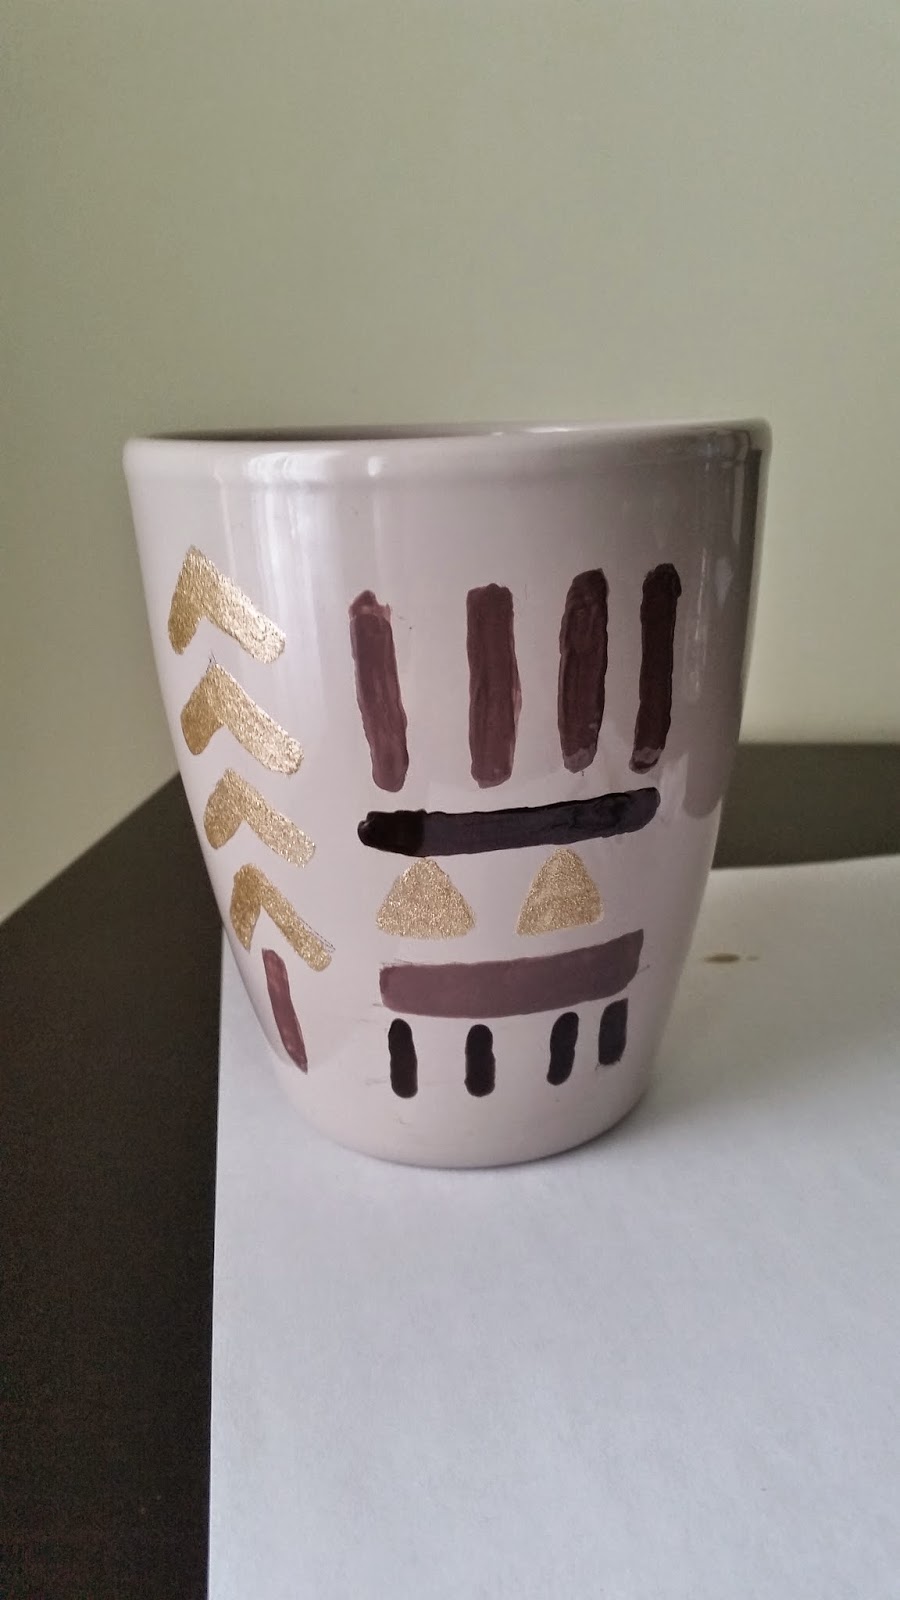
Draw on your design using your washable marker. I drew a design inspired by the ones from Urban Outfitters, but you can find neat designs on Google that you can imitate.

Once you're satisfied with your design, fill it in with nail polish. I ended up using a paintbrush for the triangles to get clean corners. Alternatively you could outline a design with tape and fill it in with nail-polish, however I wanted this to look handmade.
Once that's complete leave the design to dry completely. Remove any leftover marker with a cotton ball and some water AFTER the design has dried completely.
 |
| That residue from the marker can be wiped off with a damp cotton ball! |


- xoxo, Jayy


Comments
Post a Comment