
DIY Decor: "Stained Glass" Bottles


I swear I can smell spring approaching. The birds are back, the weather is changing, the sun stays out a little longer each day. With spring comes the desire to redecorate, and this year I'm on a minimalist kick. I used to be all about the heavily decorated, but now I'm all for the simple yet tasteful room decor. This means I have a lot of DIY-ing to get started on!
This week I made a "stained glass" bottle with a mandala inspired pattern. It's super easy to make, but requires a couple hours, patience, and a steady hand. In addition you will need:
1 glass container of any size/shape - I used an empty Molisana tomato sauce jar
1 printout/drawing of a design of your choosing, sized to fit inside your bottle
1 Washable marker
Nail polish colours of your choosing.
1 fine nail polish brush, OR at least 1 nail polish art pen
Cotton swabs
Nail polish remover
Clear topcoat
I used polish that I had at home, so I didn't go out and purchase anything special for this project. It's likely you'll already own nail polish in colours that you like to look at anyways, so why not just use them for this project? From left to right:

- Butter London - Jack the Lad (green + glitter)
- Zoya - Remy (blue + glitter)
- Zoya - Valerie (wine + glitter)
- OPI - Muir Muir on the Wall (blackened plum)
- Revlon - Nail Art Shiny Matte - Pinstripe (matte navy for lid, silver for detailing)
- Revlon - Quick Dry Top Coat

Let's get started!
1. To begin, clean your glass container thorougly and let dry completely. You don't want to run the risk of getting water mixed in with your design. It also helps to rub the outside down with rubbing alcohol or nail polish remove to get rid of any sticky residue left behind by the label.

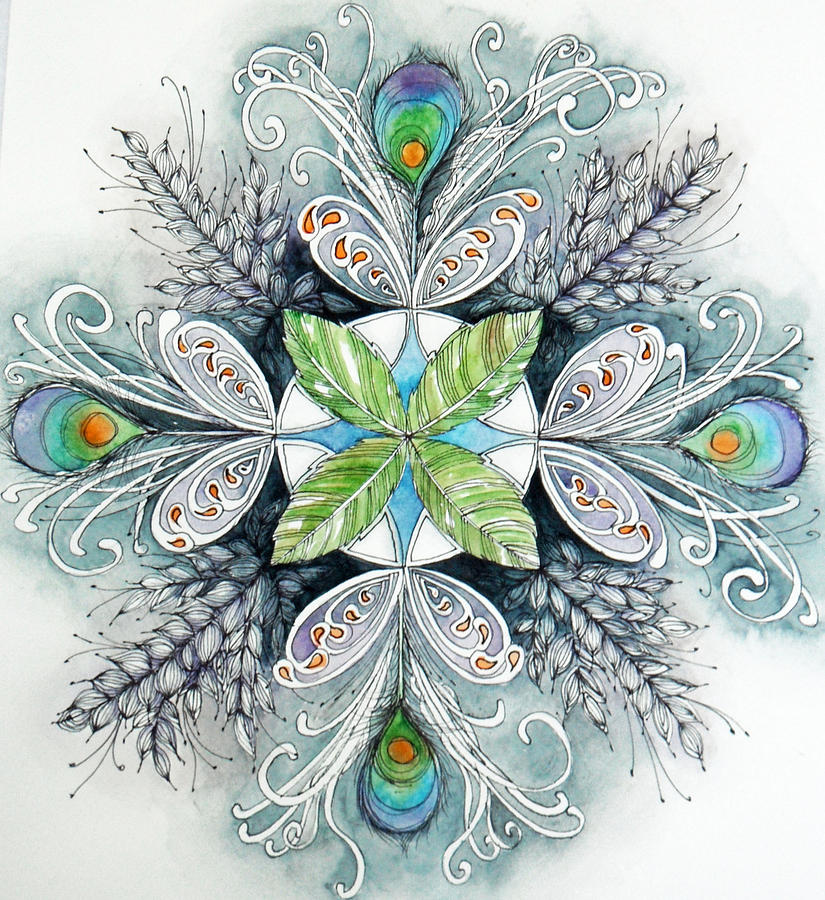 |
| Image retrieved from: http://fineartamerica.com/featured/peacock-mandala-andrea-thompson.html |
4. Once you're happy with the placement of the printout, trace the design you want onto the jar using your washable marker. Since the design I chose was fairly intricate and would have been difficult to transfer completely, I simply chose the elements I wanted to transfer while tracing.
5. Remove the printout, and carefully correct any mistakes to your design using a cotton swab. Be careful not to smudge your design!
6. Using your fine nail polish brush/nail art pen trace over your design. If you're picky about lines showing through, use a nail polish that matches the colour of the washable marker you used. Once finished, set aside to dry for 10-20 minutes. You basically want to create an outline that you will fill in with your other nail polish.
7. Once the nail polish is dry to the touch, clean up any visible lines left from the washable marker using a cotton swab. Clean up any shaky lines or mistakes using a cotton swab and some nail polish remover.
8. Fill in your design using nail polish colours of your choosing. Layer colours and vary the opacity of the coats to add interest/contrast. Don't worry about messing up the border lines, we will retrace those later.
9. Let the polish dry completely (another 20-30 minutes), and then retrace your lines if you feel it is necessary. Set aside, and let dry overnight.
10. Once dry, clean up your container with cotton swabs and nail polish remover. Make sure you're happy with your design, then seal in using a coat of clear nail varnish/top coat.


And that's it! Fill with rocks/pebbles/pennies, or even a small plant. Or, do as I'm doing, and leave it empty in a well lit area! This makes for a great addition to a minimalist room, especially if you put a few of them together!
Hope this was helpful for those of you looking to redecorate!
Cheers to beautiful minimalist spring decor!
- xoxo, Jayy


In this category of 1000ml glass bottles, you will find many shape 1 liter glass bottles. Our this 1 liter glass bottle can used as beverage glass bottle. It is such as wine glass bottle, vodka glass bottle, whiskey glass bottle and other spirit glass bottles. 1000ml glass bottles
ReplyDeleteWe understand there are always challenges when it comes to packing cosmetics, makeup jars wholesale
ReplyDelete