
DIY Decor: Paper Wreath
Paper wreaths are so versatile! They can be used in any season and occasion. This one can be time consuming (takes maybe an hour), but it is super easy and you almost can't mess up!! (I said almost.)
Let's get started!
You will need:
- Paper (8x11 will do)
- A ruler
- A compass or two different-sized circular objects
- Cardboard
- Stapler
- Hot Glue Gun
- Pencil
- String, wire, or a wall hook
Grab some paper! I used some cheap paper I got from Walmart for 25 cents a package, but regular printer paper will work just fine :)


I prepared 30 sheets of paper, and used more as needed.

Once your paper is ready, time to roll! Roll the paper into cones (I had the torn edge facing outwards). Use a piece of tape to secure the paper.


For the base of the wreath, I used a piece of square cardboard and drew two circles, a larger one on the outside and a smaller one centered directly within it. These circles will serve as a guide for the first and second layers of cones. I also rounded the corners so that they wouldn't show when the wreath was finished. I didn't do a very neat job, but it didn't matter because you can't see the wreath base once the wreath is finished.


After you have finished the outer layer, repeat the same steps for the inner layer.

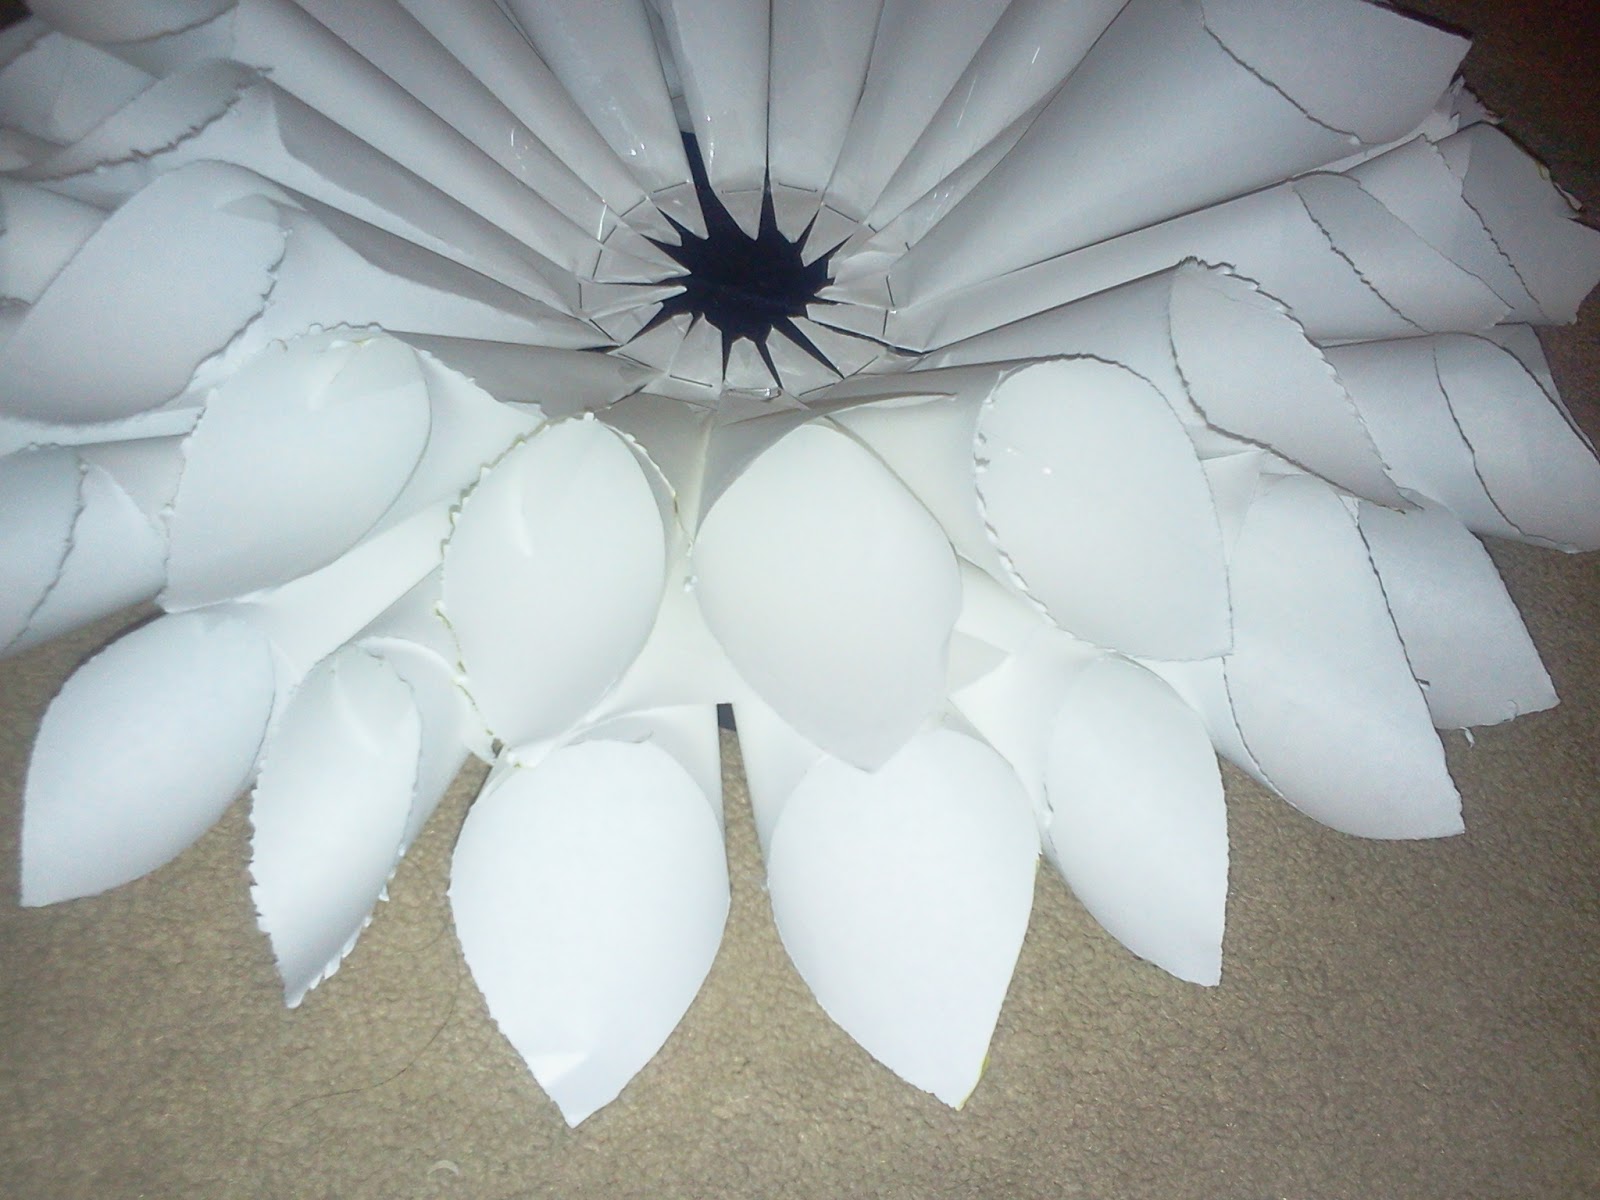
I then used some extra cones to cover up the remaining visible wreath based in the center of the wreath (by now I had to roll some extra cones).

To cover the middle, I balled up a wad of paper, hot glued it to the center of the wreath, then covered the paper wad with black flat marbles!

To attach my wreath to the wall, I punched two holes in the back of the wreath base (this can be done when you are making the base), and twisted some craft wire through the hoop. String will work just fine, but I thought this might be sturdier.

Use a nail or a wall hook to attach the wreath to the wall!!

I embellished the tips of my wreath with some pearl stickers for a delicate finish. Feel free to experiment by using fancy/coloured paper, spray paint, and other various embellishments to make this wreath.
Hope you enjoyed the tutorial, and happy crafting!
xoxo, Jayy.


Comments
Post a Comment